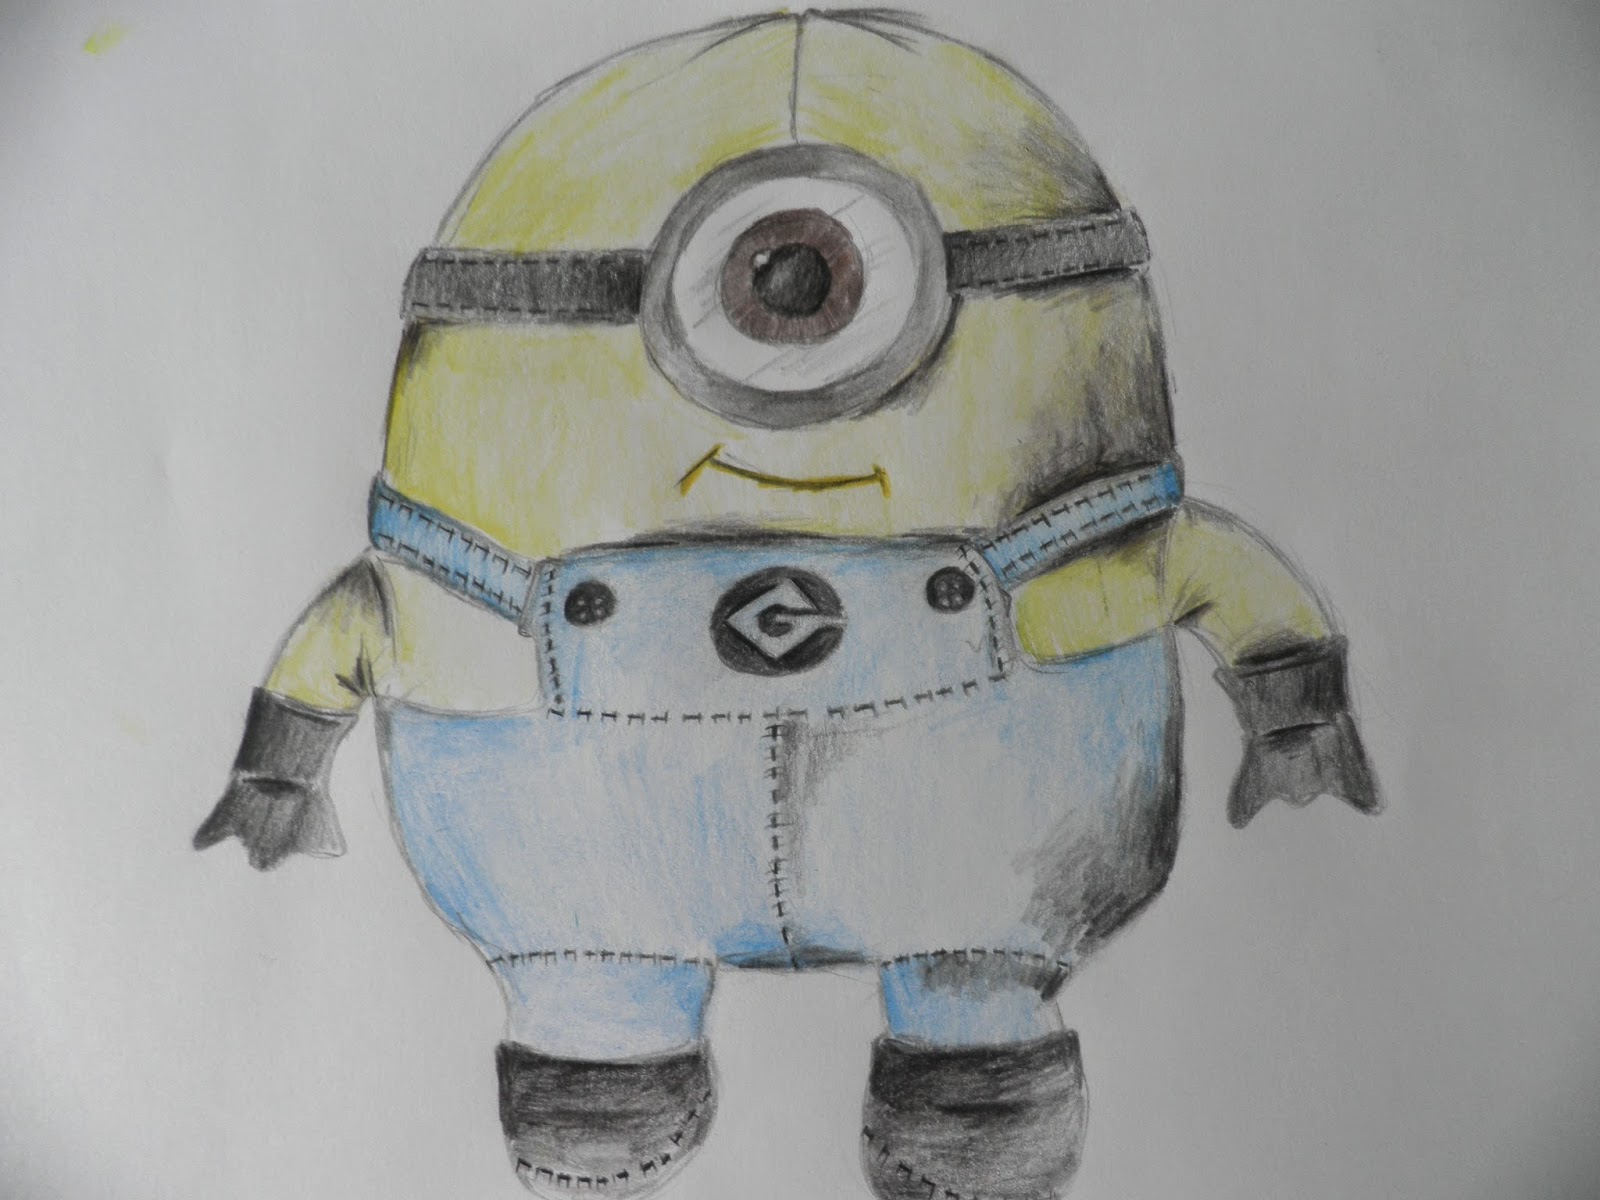
Hello everyone! Before we start anything... how's it been guys? I'm so tired because I haven't gotten enough sleep, but that's not going to stop me from writing today's blog post! Just to tell you guys, I might not post tomorrow because of my extra circular activities, but, I'll try my best for you all!
Okay okay. Enough talking about me. If you haven't already seen from the title, it's MINION TIME!
Supplies:
#2 pencil (DIXON recommended)
eraser
color pencils
Watch the video below if you want to listen to some music as we get this tutorial started. :)
Let's begin, shall we?
Step 1: Lightly draw the outline of the minion.
Step 2: For each arm, draw two curved lines that starts from the edges of the arm. Then, connect them together with a vertical line.
Step 3: Draw three arcs on the neck of the minion to create the top outline of the overalls. Make sure they connect to the edges of the minion's head.
Step 4: Draw arcs a little above the arms to create the gloves. Then, draw two more arcs where the overall straps should end.
Step 5: Draw three circles. Make sure they are about the same distance away from each other and the middle circle is bigger than the other two.
Step 6: In the middle circle, draw a rhombus. Then draw a G in the middle. Once you're done, draw a small line from the right vertex of the rhombus to the the edge of the circle.
Step 7: Where the line of the "G" ends, draw a small vertical line above it. (Make sure they connect). Then, from that small line, draw a horizontal line above it, and continue to extend that line until it connects to the the edge of the big circle.
Step 8: At the curve where the "G" starts, extend a horizontal line below it until it connects to the rhombus.
Step 9: Draw in four circles for the each button. (Two in a row.) Then draw in the goggles by drawing in a huge circle in the middle of the head with two rectangles on both sides.
Step 10: Draw in three circles within the huge circle from step 9. Then, draw in a tiny circle at the top left edge of the last circle you just drew. (The smallest one.) After that, draw in the mouth.
Step 11: Draw in the hair and mouth. Make sure for the hair, you use hashing strokes, and don't draw in too much hair! Then, draw in the stitches.
[If you don't know how to use hashing stokes, link is here: http://koweebart.blogspot.com/2014/07/drawing-human-eye.html]
Step 12: Finally, the best part! Coloring and shading! Yeah yeah yeah!
Quick tip: To make it look more realistic: Draw small vertical lines at the edges of your stitches.
[If you don't know how to shade, link is here: http://koweebart.blogspot.com/2014/07/drawing-human-eye.html]
That's it! Today's post was a bit long, but I hope it was enjoyable and fun! Comment below for any drawing suggestions or if you would like me to post your art. If you tried to draw this, link it down below. I'd love to see it!


That's awesome drawing. It's so adorable... :) :) :)
ReplyDelete