Hello hello everyone! How's it been? I'm sorry I haven't posted in so long, but...at least I'm here now. :D I've been getting so many headaches this past week, but I will continue to work hard and continue to post! So, today's tutorial will be super duper easy, and I know that so many people know how to make this, but I really wanted to show a quick little trick my friend showed my that really adds pzazz to the flower. Plus, maybe if you don't know, well...get ready to learn! He. he. he. Ugh...I'm just rambling on and on. Okay, okay, I will begin. Just one more thing... You. Yes you. The one reading this. You're gorgeous gurl...or boy. :)
Supplies:
8 pieces of tissue paper
scissors
string (about five inches)
creativity :)
Let's begin, shall we?
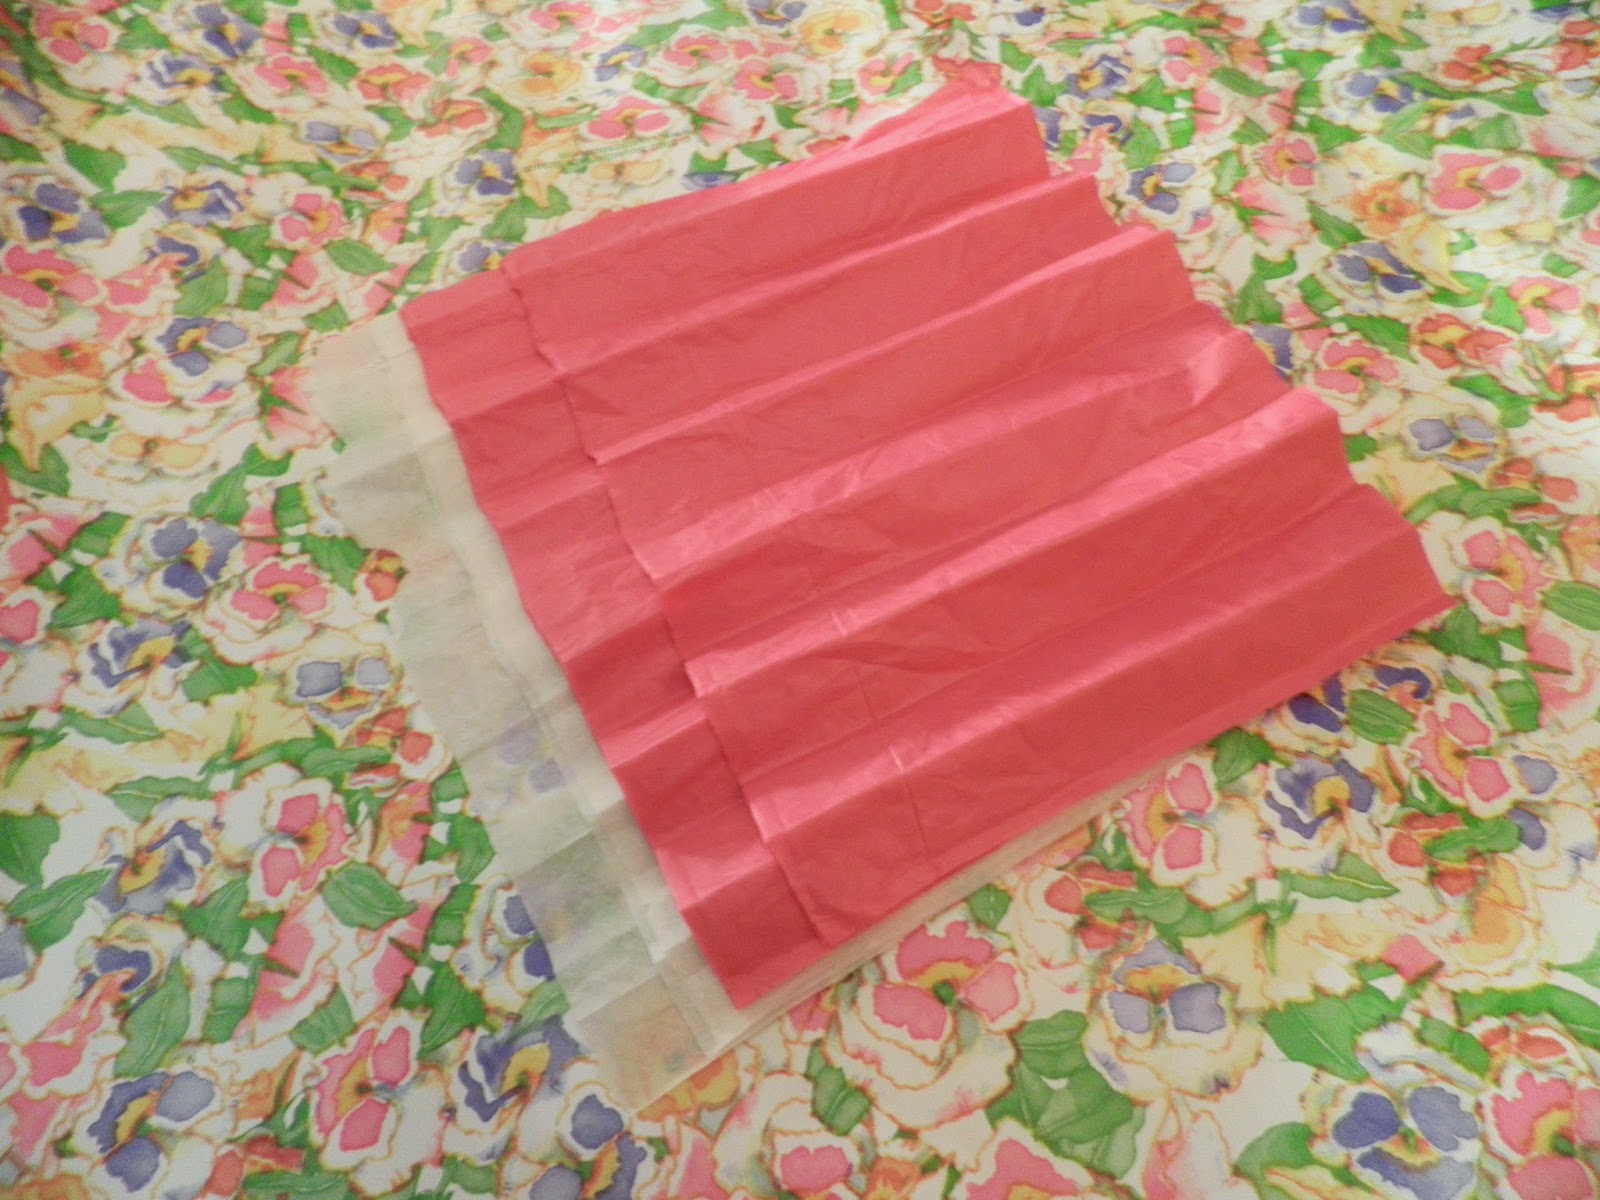
Step 1: Line up all of your pieces of paper. To make it look more realistic, you can use different colors of tissue paper. (I used four white and four pink) One more thing: If your papers aren't the same size, don't worry about that yet! Make sure it's approximately the same size!
Step 2: Okay, now just fold your paper like a fan. The folds should be about 1/2 - 1 inch.
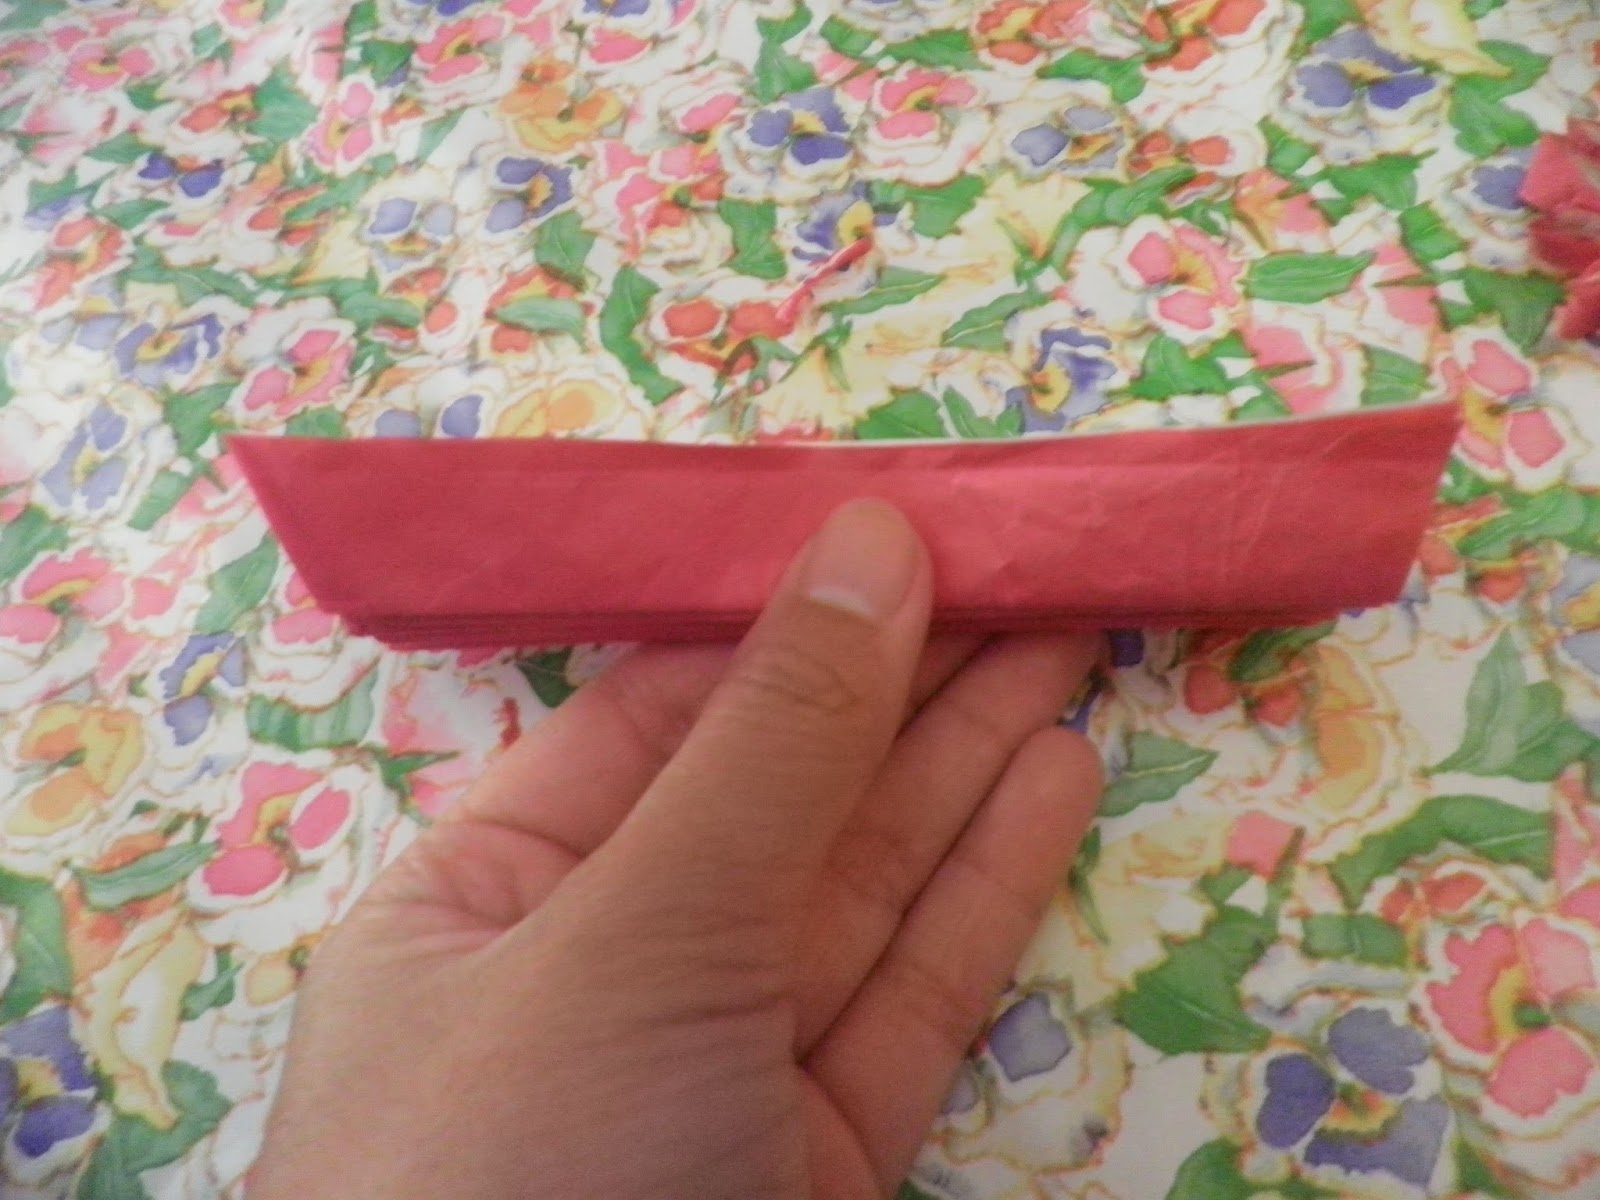
Step 3: Don't cute your ends straight! Got it? Calm down and listen...well, read. Cut your ends in an angled position so it looks more like a boat. (If you don't get it, just look at the picture) Oh, make sure you hold on tightly when you cut, or it'll fall out. Trust me, it happened to me.
Step 4: Fold what you have in half. Then, open it. You see that crease? That where you tie the string. Just a couple of regular knots. Simple enough?
Step 5: Now, let your flower lay flat. (Where the ridges are). Then, gently pull at any end until you reach the middle.
Step 6: Repeat step 5 on the other side.
Step 7: Now, continue to do the same thing. Pull a flap on one side, then the other. And continue to repeat until you reach the end.
See what it looks like with all the white pulled up? Not, bad, right? Just kidding..I was in a rush. I didn't get to do it properly.
Yeah I'm done! Took about ten to fifteen minutes to finish pulling everything...I think. Just go as slow as you need because if you go too fast, you'll end up getting rips..and gurl...that ain't purtty. (I ended up ripping a lot of the petals. :( I'm sorry my poor flower!)
That was simple right? Yeah? Yeah? Okay, I'll stop annoying you guys. And...I couldn't help but use Totoro as my model. I'm sorry! It's just too cute! >.<
Totoro: OOHHHHH! Flowers. *mischievous smile*
Me: Don't you dare. -.-
Okay, wasn't that simple? Oh my goodness, I think I've repeated that so many times. ;P Oh well. Simple is the best right? I hope that my quick little tip (Step 3) made it look a bit better. :) Thank you to all that have read, and I hope that you guys all enjoyed this post! I know it's a bit different, but I thought maybe different might be better? Okay okay. I know you want to leave. Okay, bye everyone! I'm ready to go to Micheal's and buy more supplies for DIY! Love you all! Mwah!
-and-
"hocus pocus- squiggly wiggly" (If you know where this is from, I love you even more. ;))


Hello Katie!
ReplyDeleteI like you ideas for handmade different things. I'll try the paper flowers. They look perfect ... on Totoro too;) I hope I can be as skillful as you
Thank you so much! I really appreciate that you like my ideas. I have confidence that you've got a lot of creativity in mind. ;)
Delete